26 Oct 2023
How To Remove Tile Flooring?
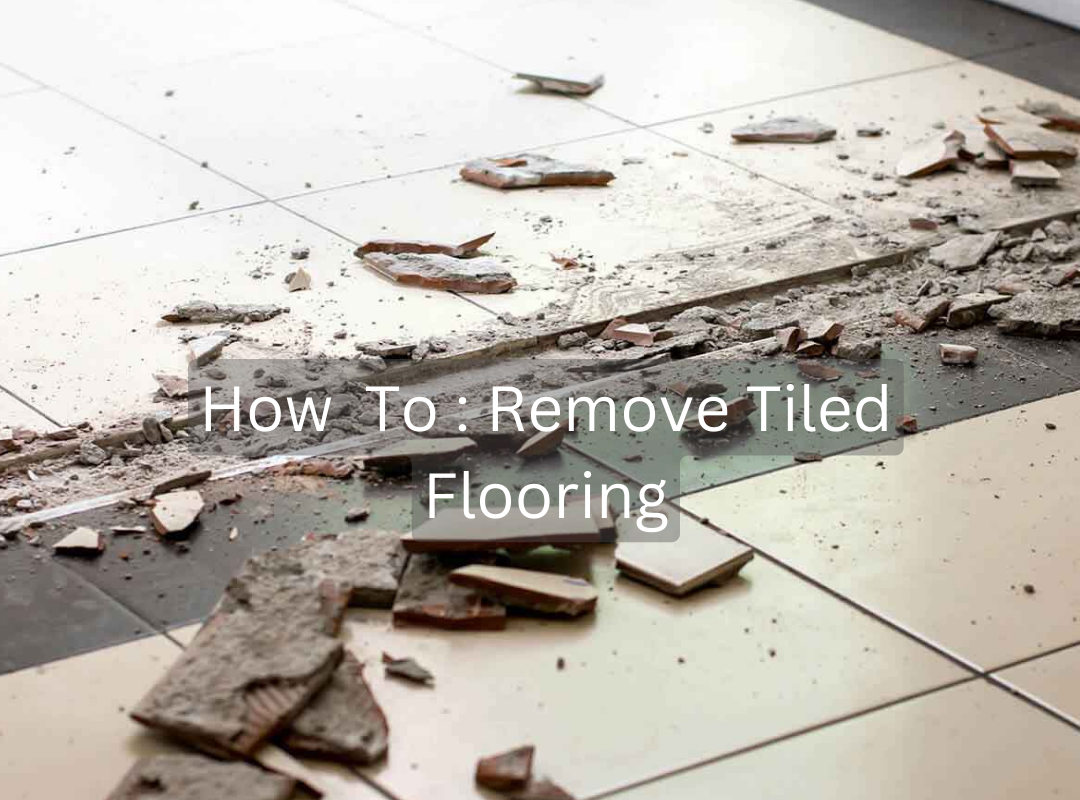
How To Remove Tile Flooring? Tile flooring, while durable and aesthetically pleasing, may need to be removed over time due to wear and tear, outdated designs, or to make room for new flooring. This task requires some essential tools including a chisel, hammer, pry bar, broom, and dustpan. Safety gear such as gloves, safety glasses, and knee pads are also vital to protect yourself during the process.
Before embarking on this task, it’s crucial to acknowledge potential hazards. Tiles can break into sharp pieces, and there’s a risk of inhaling dust. Always wear safety gear and ensure the area is well-ventilated.
Start by preparing the area. Remove any furniture, cover immovable fixtures wi th protective sheets, and seal off the area to prevent dust from spreading to other parts of your home.
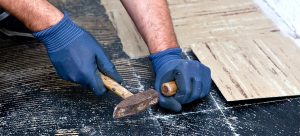
Begin the removal process at one corner of the room. Place the chisel against the edge of the tile at an angle and tap with the hammer. The tile should start to loosen and lift. Continue this process across the room. Remember, patience is key here – rushing can lead to unnecessary damage to the subfloor.
Different types of tiles will require slightly different approaches. For instance, ceramic tiles may break easily, while vinyl tiles might be more flexible and easier to remove whole. Mosaic and glass tiles require extra caution due to their tendency to shatter.
Once all the tiles are removed, you’ll likely be left with adhesive residue. A floor scraper can be used to remove this. For stubborn spots, an adhesive remover can be applied.
After the tile and adhesive are fully removed, inspect the floor for damage. Small holes and cracks can be filled with a suitable floor filler. Once the floor is smooth and clean, it’s ready for your new flooring installation!
In conclusion, removing tile flooring is a task that requires preparation, safety precautions, and patience. With the right tools and approach, you can successfully remove your old tile floor and prepare your space for a fresh, new look.
Here’s a quick checklist for your tile removal project:
- Gather necessary tools and safety gear.
- Prepare the area.
- Start removing tiles from one corner.
- Remove adhesive residue.
- Inspect and repair any damage to the subfloor.
- Clean the area and prepare for new flooring.
Remember, always prioritize safety and take your time to prevent unnecessary damage. Good luck with your home improvement project!
Why not check out all of our flooring accessories on our website here.


 th protective sheets, and seal off the area to prevent dust from spreading to other parts of your home.
 Quickstep
 COREtec
 Egger
Egger Balterio Collection
 Chene Firmfit
 Luvanto
 Belle Flooring
 Capital
 Luvanto Design
 Luvanto Click
 TLC Vinyl Flooring
 Rhinofloor
 Kaindl
 Lifestyle Floors Love AQUA
 Polyflor
 Life Flooring
 Capital Creation
 LG Hausys
 Krono Swiss
 Fusion Flooring
 Columbus Flooring
 Kersaint Cobb
 Bostik
 Moduelo
 Krono Original Xonic
 Palletforce
 Meister Flooring