9 Jul 2024
Laminate Flooring DIY: Pro Installation Tips
Discover expert tips and tricks for a successful DIY laminate flooring installation project.
Choosing the Right Laminate Flooring
When choosing laminate flooring for your DIY project, it’s important to consider the style, durability, and price. Look for laminate that matches your desired aesthetic and complements the overall design of your space. Additionally, consider the durability of the laminate and whether it will withstand the amount of foot traffic in the room. Lastly, compare prices from different suppliers to find the best value for your budget.
Preparing Your Space for Installation
Before installing laminate flooring, you need to properly prepare your space. Start by removing any existing flooring, such as carpet or tiles. Clean the subfloor thoroughly to ensure a smooth surface for installation. If necessary, use a self-leveling compound to even out any uneven areas. Additionally, check for any moisture issues and address them before proceeding with the installation.
Tools and Materials You’ll Need
To successfully install laminate flooring, you’ll need a few essential tools and materials. These include: a tape measure, a circular saw or laminate cutter, a pry bar, a rubber mallet, spacers, a tapping block, a utility knife, a pencil, a straight edge, a hammer, a nail set, a putty knife, and a vacuum or broom for cleaning up.

Step-by-Step Installation Guide
Follow these step-by-step instructions to install laminate flooring:
1. Acclimate the laminate flooring to the room’s temperature and humidity for at least 48 hours.
2. Prepare the subfloor by cleaning and leveling it as necessary.
3. Lay down a vapor barrier if needed.
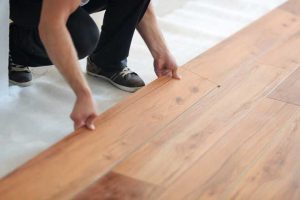
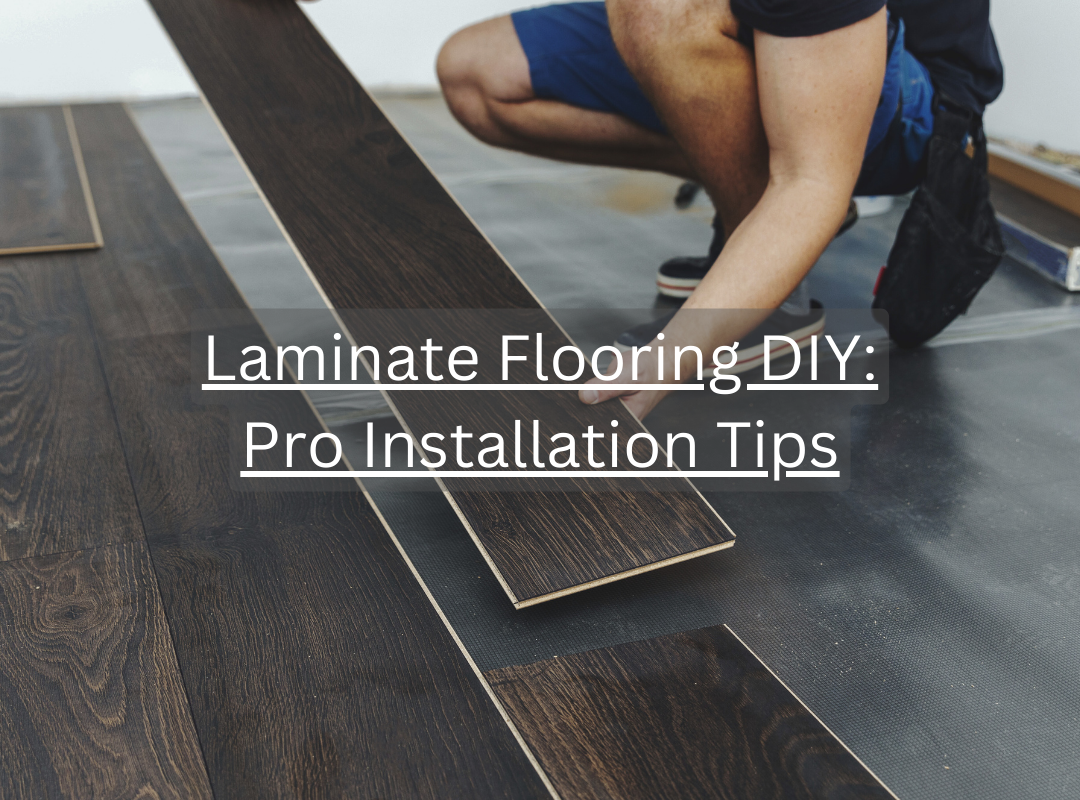
4. Start laying the first row of laminate planks against the longest wall, using spacers to maintain an expansion gap.
5. Continue installing subsequent rows, interlocking the planks and using a tapping block and rubber mallet to ensure a tight fit.
6. Cut any planks as needed to fit around corners or obstacles using a circular saw or laminate cutter.
7. Install the final row, ensuring it fits snugly against the wall.
8. Install the baseboards and trim to cover the expansion gap.
9. Clean the laminate flooring with a damp mop or manufacturer-recommended cleaner.
10. Regularly maintain the laminate flooring by sweeping or vacuuming to remove dirt and debris.
Finishing Touches and Maintenance Tips
Once the laminate flooring is installed, there are a few finishing touches and maintenance tips to keep in mind. First, remove any adhesive residue or marks using a damp cloth and mild detergent. Avoid using abrasive cleaners or tools that may damage the laminate surface. Additionally, use furniture pads or felt pads under the legs of heavy furniture to prevent scratching. Finally, handle spills promptly and avoid excessive moisture on the laminate flooring to prevent warping or damage.
Be sure to check out all of our flooring options on our website here.


 Quickstep
 COREtec
 Egger
Egger Balterio Collection
 Chene Firmfit
 Luvanto
 Belle Flooring
 Capital
 Luvanto Design
 Luvanto Click
 TLC Vinyl Flooring
 Rhinofloor
 Kaindl
 Lifestyle Floors Love AQUA
 Polyflor
 Life Flooring
 Capital Creation
 LG Hausys
 Krono Swiss
 Fusion Flooring
 Columbus Flooring
 Kersaint Cobb
 Bostik
 Moduelo
 Krono Original Xonic
 Palletforce
 Meister Flooring