18 Jan 2024
Beginner’s Guide to Installing Lino Flooring
Learn how to install lino flooring with this Beginner’s Guide to Installing Lino Flooring. Discover the tools and techniques needed to successfully execute the task.
Understanding Lino Flooring
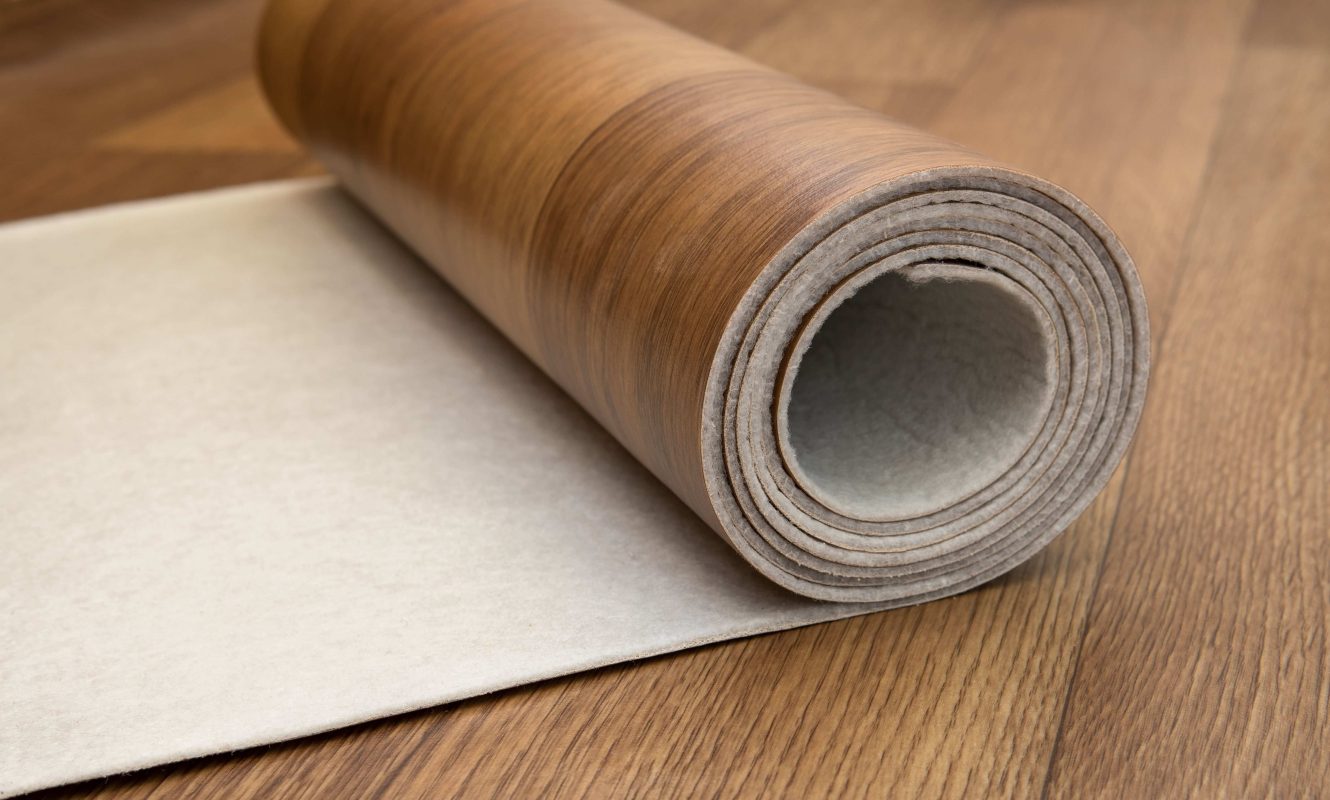
Lino flooring, short for linoleum flooring, is a popular choice for many homeowners due to its durability and affordability. It is made from natural materials such as linseed oil, cork dust, and wood flour, which are then mixed with a binding agent and pressed onto a backing material. Lino flooring comes in a wide range of colours and patterns, making it a versatile option for any room in your home.
One of the key benefits of lino flooring is its resilience. It is highly resistant to wear and tear, making it ideal for high-traffic areas such as kitchens, hallways, and bathrooms. Additionally, lino flooring is water-resistant, making it a suitable choice for areas that may be prone to spills or moisture.
Before you begin installing lino flooring, it’s important to measure the area accurately to ensure you purchase the correct amount of flooring. Take into consideration any obstacles such as doorways or fixed furniture that may require special attention during the installation process. Understanding the basic properties and benefits of lino flooring will help you make informed decisions throughout the installation process.
Tools and Materials Needed
To install lino flooring, you will need the following tools and materials:
– Lino flooring rolls or tiles
– Measuring tape
– Utility knife
– Straightedge
– Adhesive
– Roller or hand roller
– Trowel
– Notched trowel
– Floor primer
– Gloves
– Safety goggles
– Knee pads
– Dust mask
Having the right tools and materials will ensure a smooth and successful installation process. Make sure to gather all the necessary items before you begin.
Preparing the Subfloor
Before installing lino flooring, it’s crucial to prepare the subfloor properly to ensure a long-lasting and even installation.
1. Remove any existing flooring: If there is any existing flooring, such as carpet or hardwood, it should be removed to expose the subfloor. Make sure to clean the subfloor thoroughly and remove any debris or adhesive residue.
2. Repair any damage: Inspect the subfloor for any damages such as cracks or uneven areas. Repair any issues to create a smooth and level surface.
3. Clean and dry the subfloor: Use a vacuum or broom to remove any dust or dirt from the subfloor. Additionally, ensure that the subfloor is completely dry before proceeding with the installation. Moisture can damage the lino flooring and affect its adhesive properties.
Taking the time to properly prepare the subfloor will contribute to a successful and long-lasting lino flooring installation.
Installing the Lino Flooring
Now that the subfloor is ready, it’s time to install the lino flooring. Follow these steps for a smooth installation process:
1. Measure and cut the lino flooring: Measure the dimensions of the room and transfer the measurements onto the lino flooring. Use a straightedge and a utility knife to cut the flooring into the desired size and shape.
2. Apply adhesive : Depending on the type of lino flooring you have, apply appropriate adhesive to the subfloor. Follow the manufacturer’s instructions for the specific adhesive to use for your project.

3. Lay the lino flooring: Carefully place the lino flooring onto the adhesive, starting from one corner of the room. Use a roller or hand roller to smooth out any air bubbles and ensure proper adhesion.
4. Trim and finish the edges: Once the lino flooring is in place, trim any excess flooring along the edges of the room using a straightedge and utility knife. Install baseboards or trim to cover the edges and create a finished look.
5. Allow the flooring to set: Give the lino flooring enough time to set and adhere to the subfloor. Follow the manufacturer’s instructions for the recommended drying or setting time.
Following these steps will help you achieve a professional-looking lino flooring installation.
Tips for a Successful Installation
Here are some additional tips to ensure a successful lino flooring installation:
– Take your time: Installing lino flooring requires precision and attention to detail. Take your time during each step to ensure a high-quality installation.
– Work in small sections: It’s best to work in small sections when applying adhesive and laying the lino flooring. This will prevent the adhesive from drying out before you can place the flooring.
– Use a notched trowel: When applying adhesive, use a notched trowel to create ridges. This will help improve the adhesive’s grip on the subfloor and ensure a strong bond.
– Ventilate the room: During the installation process, make sure the room is well-ventilated by opening windows or using fans. This will help dissipate any fumes from the adhesive.
– Follow manufacturer’s instructions: Every lino flooring product may have specific instructions and recommendations. Be sure to read and follow the manufacturer’s instructions for the best results.
By following these tips, you can ensure a successful lino flooring installation and enjoy the benefits of your new flooring for years to come.
We also have a wide range of luxury vinyl click and glue down flooring options also which you can find on our website here.


 Quickstep
 COREtec
 Egger
Egger Balterio Collection
 Chene Firmfit
 Luvanto
 Belle Flooring
 Capital
 Luvanto Design
 Luvanto Click
 TLC Vinyl Flooring
 Rhinofloor
 Kaindl
 Lifestyle Floors Love AQUA
 Polyflor
 Life Flooring
 Capital Creation
 LG Hausys
 Krono Swiss
 Fusion Flooring
 Columbus Flooring
 Kersaint Cobb
 Bostik
 Moduelo
 Krono Original Xonic
 Palletforce
 Meister Flooring